Changing lined curtains from eyelets to pintuck – how I did it
These lovely curtains belong to Asha a local dog walker and genuinely lovely person. She was super excited to get these curtains on sale but she really preferred pintuck style and these are eyelet (boo – who wants eyelet curtains, seriously?).

Not to worry! Transforming curtains is pretty straightforward because you’ll only need to use straight stitch. If you can sit behind a sewing machine you can straight stitch, difficulties for this project arise from how big curtains are. You’ll need to be patient with the huge amounts of cloth you’re dealing with.
First off you want to cut the eyelets off the top of the curtain – this is a great time to shorten your curtains if they’re too long. Asha’s curtains were the right length so I just cut along a line created by plastic reinforcing tape along the top. This was a real time saver for me so I was pretty happy about it. These curtains are lined so I was careful to make sure both layers of fabric were nice and flat, I didn’t want the lining to get bunched up underneath and cut it wonky.
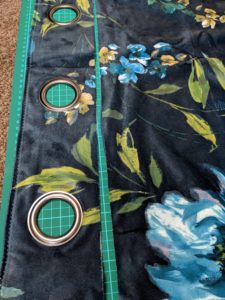
Most of the time you won’t be so lucky so it’s best to measure & mark the correct distance from the top all along the curtain and draw a straight line. Then cut along this line. It’s tempting to just eyeball it but accuracy at this stage is important to ensure your curtains keep a nice drape.
Next I turned the curtain inside out so the outsides were touching, I lined up the raw edges of the curtain and lining – use pins to keep the edges together and then stitched along the top, removing the pins as you come to them. I used a 1.5cm seam allowance.

After stitching along the top I turned the curtain out the right way and poked out the corners I’d just sewn.

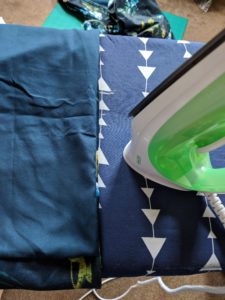
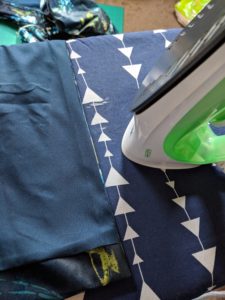
I’m going to sew the pintuck tape directly to the back of the curtain so I want my new seam to be really flat and straight. So, to the iron! Pressing seams is another thing it’s tempting to skip over but it really makes things better for you in the long run. Check out how much flatter my seam is after ironing, this will make a great edge to line the tape up with instead of struggling with fabric that keeps moving around.
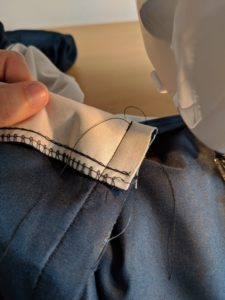
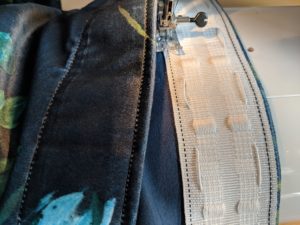
Pin the tape all along the top of the curtain just below the top. At each end, fold the tape back on itself to seal in the raw edge. Make sure you keep the strings free – pulling on these creates the pintucks so you don’t want to accidentally trap them with stitches!
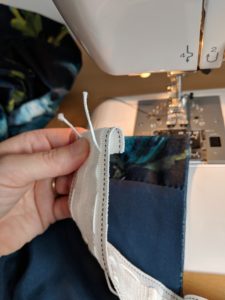
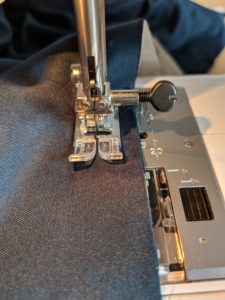
And then sew the tape on – The one I used had a handy stitching guide so the visible stitching on the front of the curtain was really straight – nice! I had to keep shifting the bulk of the curtains around as I sewed so that the fabric being stitched wasn’t being pulled in any direction. Pulling on the fabric will distort your stitches and make it harder to stay straight.
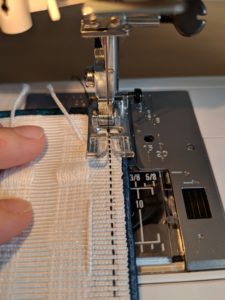
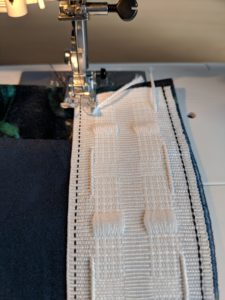
Sewing along the bottom of the tape is easier than doing the top because your tape is already fixed in place! There’s no need to pin, just give the underside the occasional tug to make sure it doesn’t bunch up, if it does don’t panic! Simply stop, take the curtain out of the machine and unpick your stitches until the bunched up bit is free.
And that was just about it. All that remained to do is pull on the strings to create the folds & tucks which give this style of curtain its name, well, half of it anyway. It’s a good idea to tie the ends of your strings together before you do this so you don’t accidentally pull out a string!
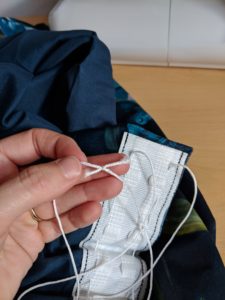
Once you’ve got your tucks as tight or loose as you want tie off the ends of the string to keep the folds in place – you can snip of the cords or leave them in case you want to change it up.
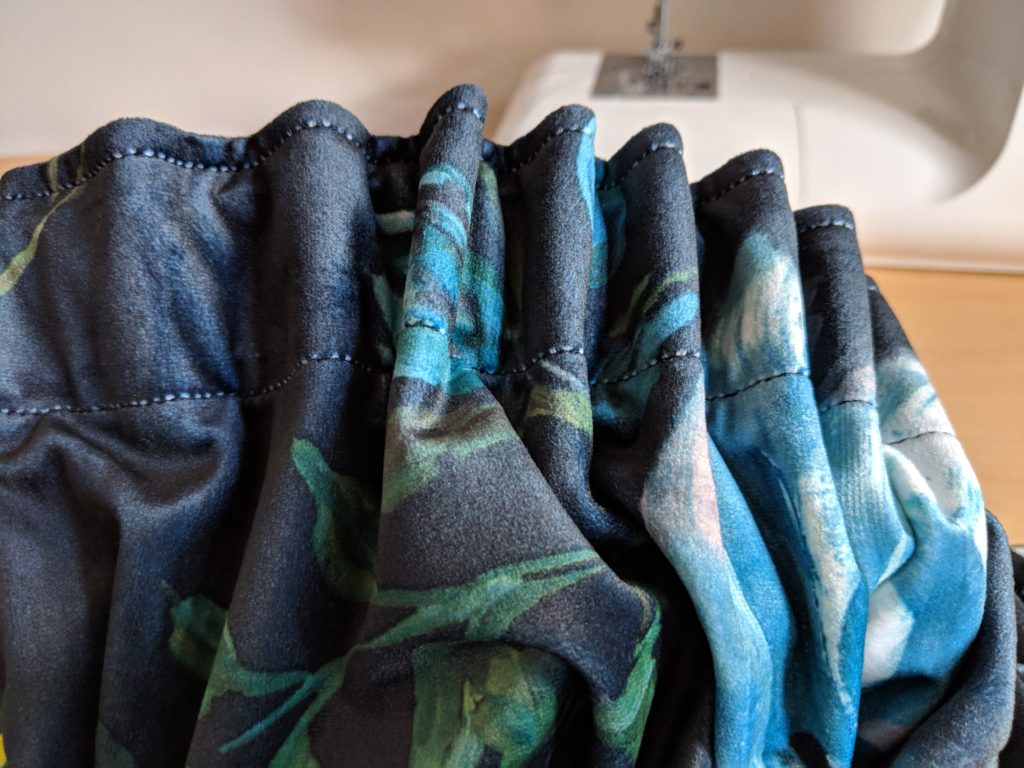
And there it is! You’ve changed curtains from eyelet to pintuck – congratulations!
There is of course more than one way to do this, if you have any other ideas or tips please share them in the comments